Accademia Riaci
Student Reports
Read all class reports from our students!

Daniel Trembovelski
Country: France
Course: Jewelry Making
Program: Master Course
Period: Sep 6, 2021 - Apr 15, 2022
Apr. 27, 2022 | Posted in Reports, Jewelry Making , Student Reporter | Tags:Daniel Trembovelski, Jewelry MakingReporter: Daniel Trembovelski | Course: Jewelry Making
Jewelry Making Master Course (n.2)
Today was practice day.
I decided to finish a project I didn’t have the chance to work on throughout summer. Back in the UK, I needed to engrave one of my pieces and therefore met an engraver to ask for his help and to know the price of the needed engraving. After a few drinks and a good talk, we agreed he would do my engraving for free if I could do something for him in return. In fact, being a smoker himself, he has been looking for a Zippo case thick enough he could engrave for himself. All the Zippos online are about 0.3mm thick which is too thin for him to engrave as he needs at least 0.7-0.8mm of metal to be able to engrave deep patterns. Therefore, we agreed on that deal and I started to work on this project in exchange of his engraving.
I precedingly done the two parts of the case on a jewellery modelling software called Rhino. They were then 3D printed and casted in silver. All I had left to do was to clean it, insert the Zippo inside and rivet the hinge. But it came out harder than expected. Even though I did my best to reproduce the exact dimensions of the Zippo on the software, the result was still a bit narrow to host the Zippo. It took me a long time of filing and sanding the inside of the piece. It is a very tricky process as the mistake would be to file it too much and therefore ruin the whole efficiency of the case. Furthermore, the inside of the case was a bit hard to reach as not all the sanding rolls I could use would fit in it. After a lot of hours of filing, the Zippo started to fit. Through the scratches it would leave on the inside surface, I would understand where to file to make it fit even better (Zippo pictures 1 to 4).
The day being finished, I left the end of the project for Thursday.


Today was the first engraving (“Incisione”) class. I was very looking forward to it as it was one of the main things I wanted to learn by joining this course.
Helped by my classmate, I bought the needed engraving tools before the first day. I therefore opted for 3 different engravers of different sizes and thickness. Once the course started, the teacher, Marco, shaped them as needed thanks to a specific machine. Each engraver is shaped in a particular way to create more or less deep cuts in the metal or create different types of textures (engraving picture 1). We started by cutting a square piece of copper and stick it on a wax base. We therefore melted some red wax and once melted we could set the copper on it and lock it unmovable with the wax. It was quite a long process, but the result was efficient, nonetheless (engraving pictures 1&2).


Today is jewellery making class. I carried on with the leaf project.
After cleaning the surface and the sides of the leaf with different types of sandpaper, I had to create the main “branch” of the leaf in the middle of the piece. I found a small silver wire in my personal materials, annealed it, and then used the draw bench to make it thinner and longer. Once satisfied with the result, I shaped it to follow the shape of the leaf. I found it tricky to shape it perfectly as the leaf is curved in both the vertical and horizontal way.
Using some steel wire to maintain the silver wire in place, I started the soldering process. Like said before, I didn’t have the chance to practice my soldering skills in the last few months. Surprisingly, it comes back pretty fast, and the result was very satisfying to the exception of one point at the extremity of the leaf that the solder didn’t reach properly. I therefore added some solder to this spot and started again which gave a conclusive result. After that, I cleaned the front of the piece of the soldering (Leaf pictures 1&2).


Today was practice day, I decided to finish my Zippo case. The next step was to polish the outside. Nothing too hard or unknown. I started by filing with thin delicate files, then using the 500/800 and 1200 sandpapers I would leave an almost perfect surface. To be engraved, the piece doesn’t need to be polished like a mirror but needs to be as smooth as possible. I therefore opted for the hard brush on the polisher and some polishing paste to make the result even clearer than after the original cleaning.
Once the two sides clean and polished, I had to create the rivet. My first idea was to use some 2mm thick steel wire as silver would be too soft of a metal to hold properly a piece like that. I originally wanted to only buy a little piece of wire, but the shop would just sell a long-rolled piece of wire. As it was pretty cheap, I opted for that option. But the hard part was to actually cut a short piece of it as the school doesn’t have the needed machinery for that process. I decided to heat the wire until red and use big cutters I had to shock the metal and therefore break it. It worked but it was a real struggle. I then got confronted to another issue, the wire was slightly too thick for the hinge. Most of the tools of the school I could use to make it thinner might be damaged if used with steel. I therefore decided to forget about this option and find something else.
This is how I came out with the idea of using a brass wire. It is a relatively soft material but 2mm of thickness makes it seriously solid and stable. Fortunately, I had a piece of brass wire that I shaped on the draw bench. I then cut it at the right length of the wire, drilled a hole with the pendant motor on each side of the wire and once inserted in the hinge, I used a light hammer to hammer the ends and therefore rivet it, so it doesn’t move on the sides of the hinge. The result was successful and the lighter now open and closes perfectly (Zippo pictures 5&6).


Ceramics/Home Cooking/Glass Art – Summer Course (#1) – H.H.
I participated in the summer program and took a one-…
Language:
Reporter: H.H.
Course:
Italian Home Cooking, Ceramics, Glass Art
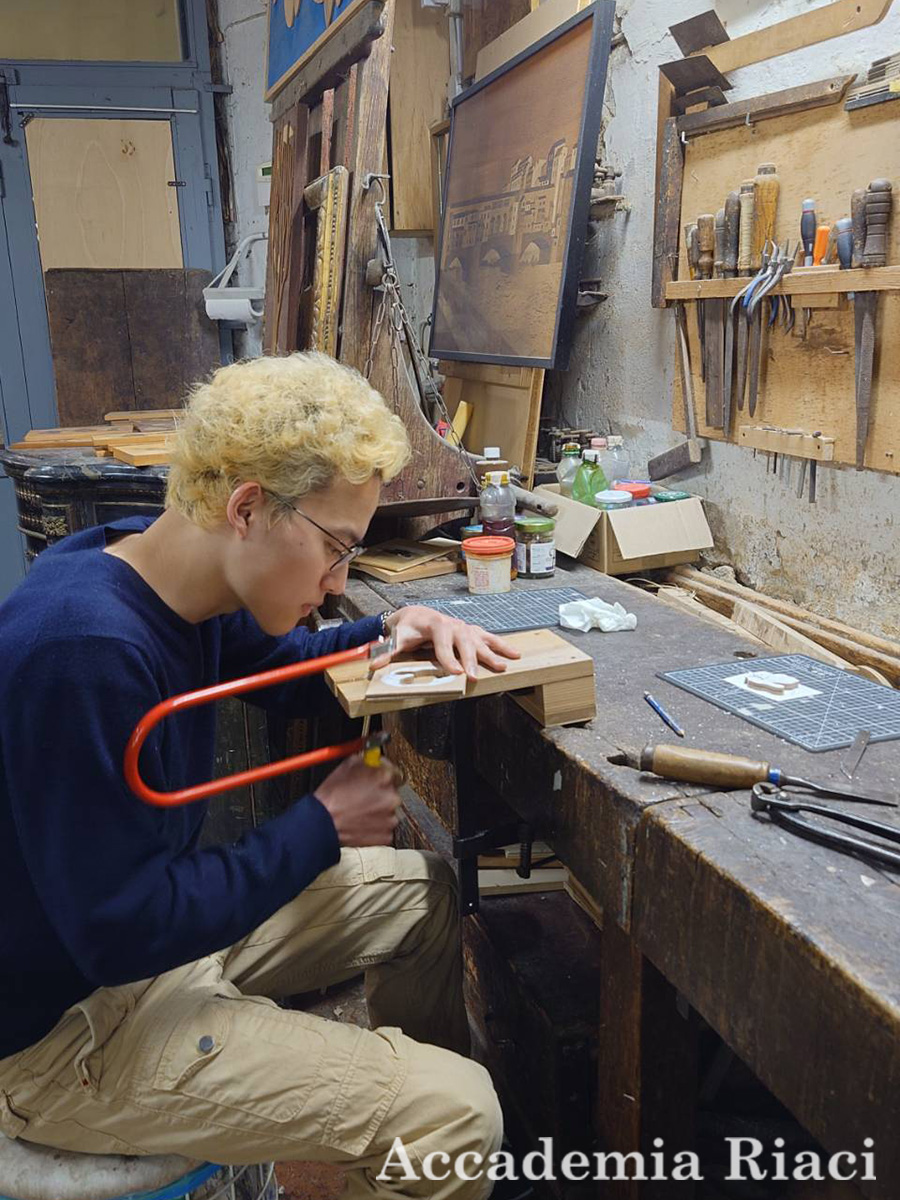
Bag Making / Furniture Restoration Short Course (#3) – K.M.
This week marked the first week of the antique furni…
Language:
Reporter: K.M.
Course:
Bag Making & Leather Arts, Woodworking
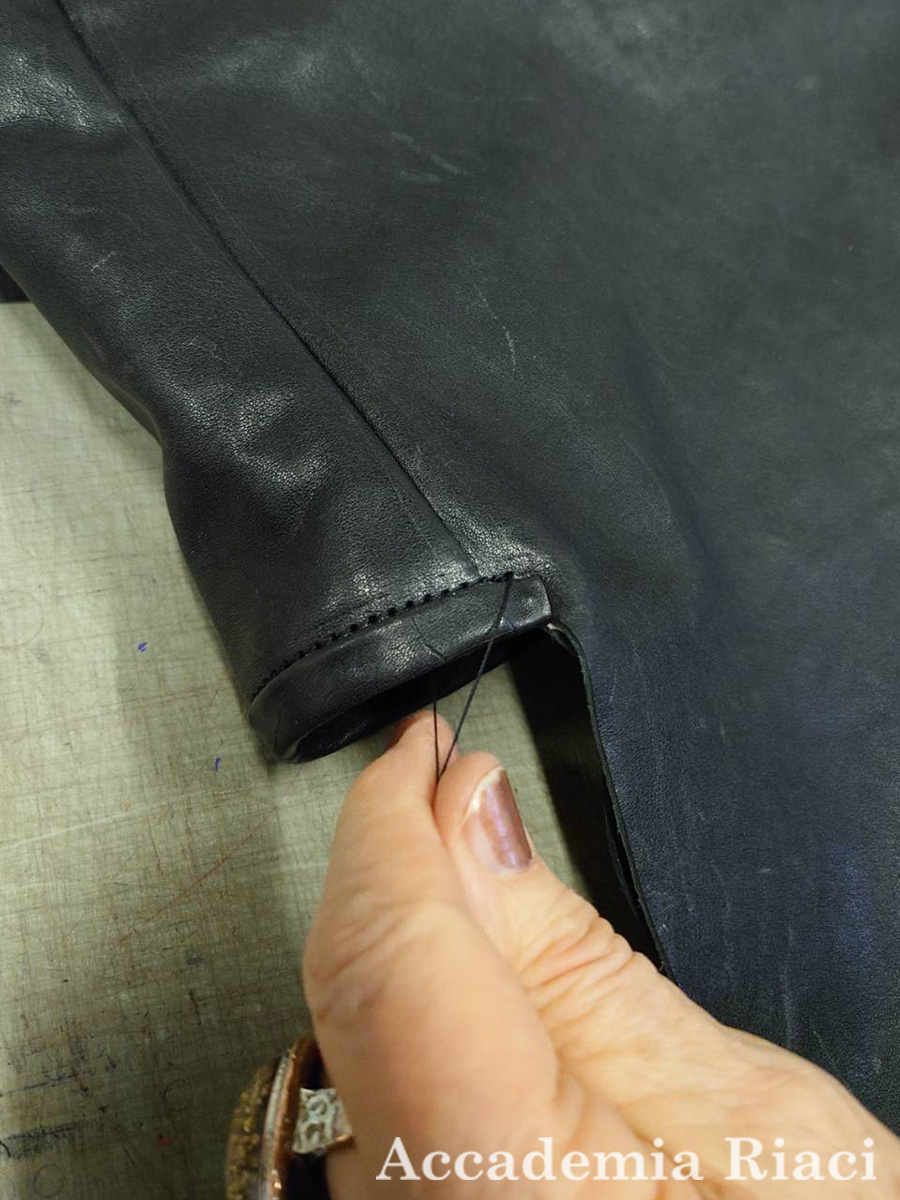
Bag Making / Furniture Restoration Short Course (#2) – K.M.
This week was the final week of bag-making.
今週は、カバン…
Language:
Reporter: K.M.
Course:
Bag Making & Leather Arts, Woodworking

At Accademia Riaci, we are recruiting Course Reporters from our students. The students who are chosen to become Course Reporters are given 10 % of the tuition as their scholarship fee.
The Reporters who have submitted excellent reports will have his or her profile posted on our school website for the next 5 years as an alumnae and will be able to connect with their business chancesafter their graduation.