Accademia Riaci
Student Reports
Read all class reports from our students!

Daniel Trembovelski
Country: France
Course: Jewelry Making
Program: Master Course
Period: Sep 6, 2021 - Apr 15, 2022
May. 17, 2022 | Posted in Reports, Jewelry Making , Student Reporter | Tags:Daniel Trembovelski, Jewelry MakingReporter: Daniel Trembovelski | Course: Jewelry Making
Jewelry Making Master Course (n.5)
Ring project + engraving
I carried on with the ring project I started last week.
Now that I have the ring made, clean and polished, it is ready for engraving. The very first engraving pattern will be thin rice grains patterns disposed in squares on the ring. Each side of a square would equal two grains. To make sure they are all divided equally on the surface of the ring, I started by divided the ring in equal square sections. (See picture ring project 1) For that, I have used my compass and found the correct distance in which the last trace line would be at the exact same spot as the first one traced. Each distance measured by the compass would be delimited by a straight line going from each side of the shank. Once done, I crossed the diagonals of each section to create perfectly straight squares. (See picture ring project 2) It took a few tries as the rounded surface of the ring would make difficult to trace straight lines. The next step consisted in tracing the grains by hand with a thin pencil directly on the surface of the piece. It is important to trace them one section at a time as during engraving, the hand will maintain on the surface and therefore erase the grains precedingly traced. It is now ready for engraving.
 picture ring project 1
 picture ring project 2
 picture ring project 3
 picture ring project 4
 picture ring project 5
 picture ring project 6
This week I started a new ring. It will be a handmade square silver signet ring, empty on the inside and thick enough to have engraving on the top and the sides of the ring. First, I needed to decide of the dimensions of the top surface. I went for a 1.5mm square. I therefore melted some silver, shaped it into a bar and rolled in in the rolling mill until reaching a 1.8mm thickness which is enough to engrave and set a stone on it. (See pictures signet ring 1 and 2)
 pictures signet ring 1
 pictures signet ring 2
 pictures signet ring 3
 pictures signet ring 4
 pictures signet ring 5
 pictures signet ring 6

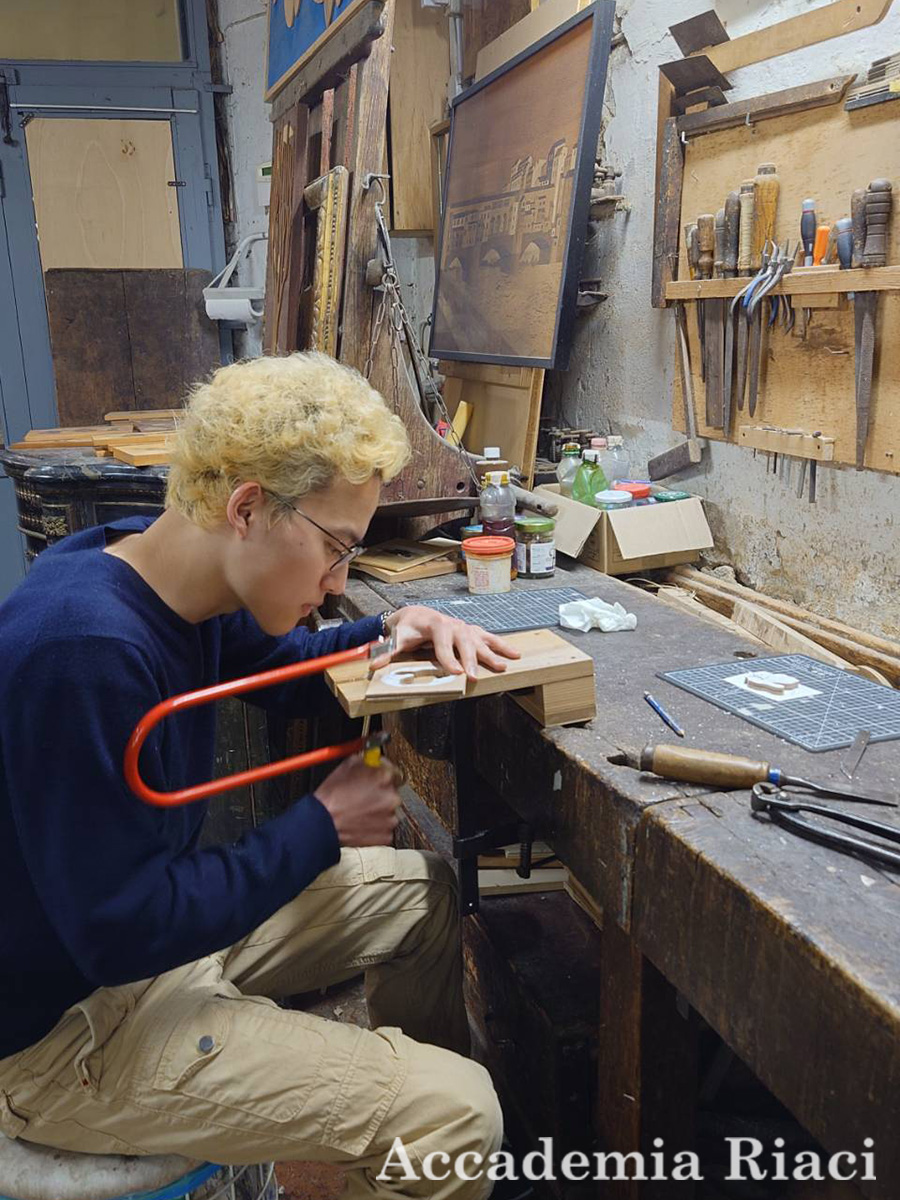
Bag Making / Furniture Restoration Short Course (#3) – K.M.
This week marked the first week of the antique furni…
Language:
Reporter: K.M.
Course:
Bag Making & Leather Arts, Woodworking
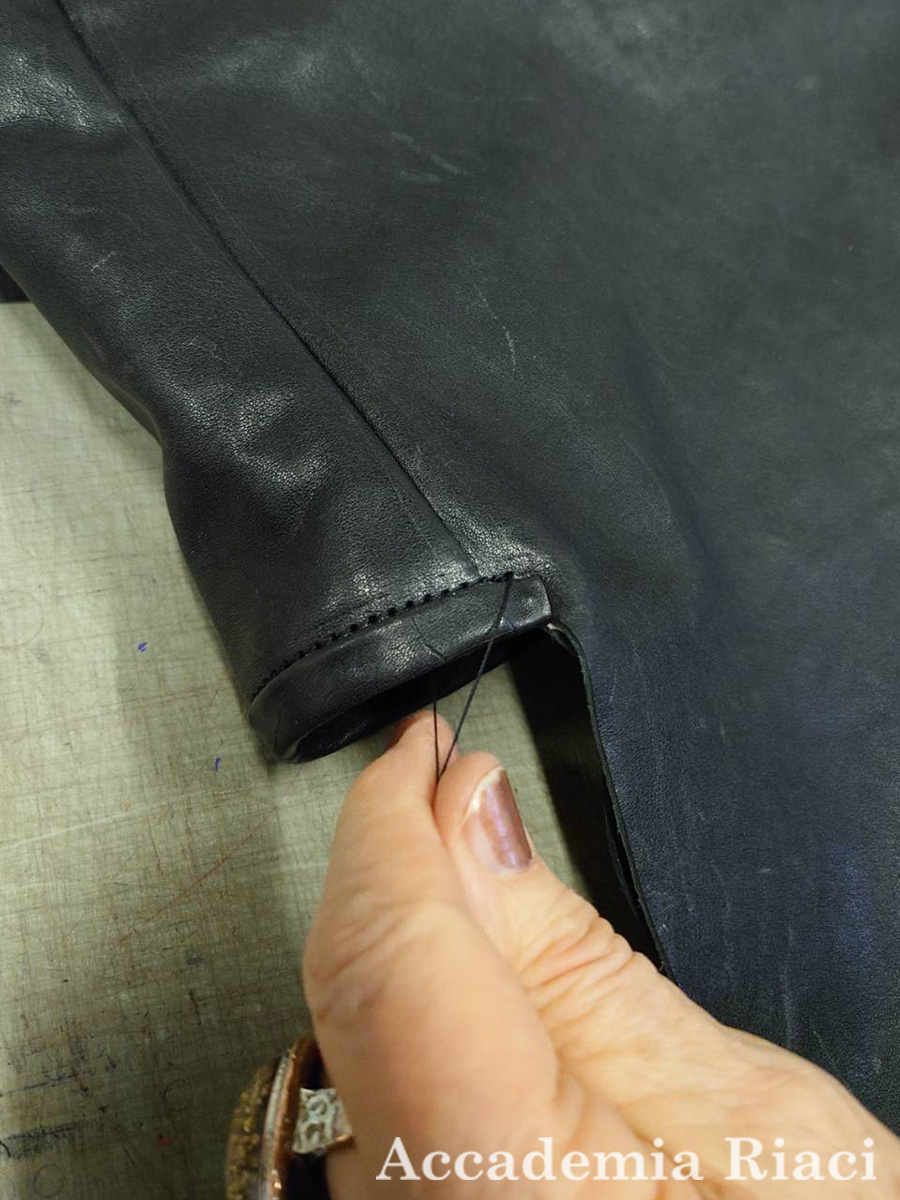
Bag Making / Furniture Restoration Short Course (#2) – K.M.
This week was the final week of bag-making.
今週は、カバン…
Language:
Reporter: K.M.
Course:
Bag Making & Leather Arts, Woodworking
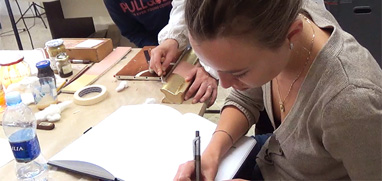
Bag Making / Furniture Restoration Short Course (#1) – K.M.
This week was the first week of bag making.
Luckily…
Language:
Reporter: K.M.
Course:
Bag Making & Leather Arts, Woodworking

At Accademia Riaci, we are recruiting Course Reporters from our students. The students who are chosen to become Course Reporters are given 10 % of the tuition as their scholarship fee.
The Reporters who have submitted excellent reports will have his or her profile posted on our school website for the next 5 years as an alumnae and will be able to connect with their business chancesafter their graduation.