Accademia Riaci
Student Reports
Read all class reports from our students!
Daniel Trembovelski
Country: France
Course: Jewelry Making
Program: Master Course
Period: Sep 6, 2021 - Apr 15, 2022
May. 11, 2022 | Posted in Reports, Jewelry Making , Student Reporter | Tags:Daniel Trembovelski, Jewelry MakingReporter: Daniel Trembovelski | Course: Jewelry Making
Jewelry Making Master Course (n.4)
Ring project
I started the week by continuing last week’s ring project.
Once the main part clean and even, I decided to make it even more curved than it was. For that I hammered the edge of the surface in a shaping base with a conical shape. Going from larger to narrower, this process gave the ring a more curved shape while keeping its balance on each side. It took a lot of filing to get the edges straight again, but the result came out very satisfying. (See ring picture 1) I then had to file the surface of the piece with a fine file as well as the inside and the sides. As I had still a pretty deep cut at the soldering point on the inside of the ring, I added a bit of solder which fixed the cut. (See ring picture 2). I then polished the inside which makes it ready for engraving. (See ring picture 3)
 ring picture 1
 ring picture 2
 ring picture 3
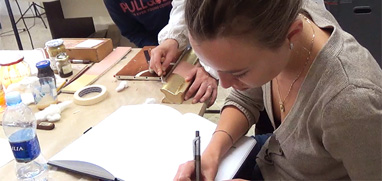
ast week, the teacher prepared an example of letter engraving on a piece of copper by writing my name in an engraving font. When done, he deepened the cuts to give it a shadowy aspect and some relief. (See engraving picture 1)
I then tried a few tries myself that are far from being as successful as his, but I was happy to notice progress even after a few tries. (See engraving picture 2)
 engraving picture 1
 engraving picture 2
We then created the pattern that will be on the sides of the ring. I indeed repeated the pattern learned last week, but on a way smaller scale on a rectangular band 2mm wide. I really struggled with that pattern as the surface is really small. Time to train and repeat now. (See engraving picture 4)
 engraving picture 3
 engraving picture 4
I decided to ask for the help of the jewellery teacher to repair a bracelet I had from my brother. It is a bracelet bought in Morroco, supposedly made of silver, and that had been on his wrist for almost a year. After this time, it simply snapped in two parts. (See bracelet picture 1)
I’ve tried soldering it many times which I never succeeded. Another teacher of mine explained that it happens a lot to traditional jewels bought in Morocco because the percentage of silver in the alloy of the metal is lower than in the classic alloys of Europe. Therefore, the soldering is harder to achieve. With the help of the teacher and 2 torches, we managed to solder the two pieces together, but it broke straight away after been put in the acid. (See bracelet picture 2)
 bracelet picture 1
 bracelet picture 2
 bracelet picture 3
 bracelet picture 4
 bracelet picture 5
 bracelet picture 6

Ceramics/Home Cooking/Glass Art – Summer Course (#1) – H.H.
I participated in the summer program and took a one-…
Language:
Reporter: H.H.
Course:
Italian Home Cooking, Ceramics, Glass Art
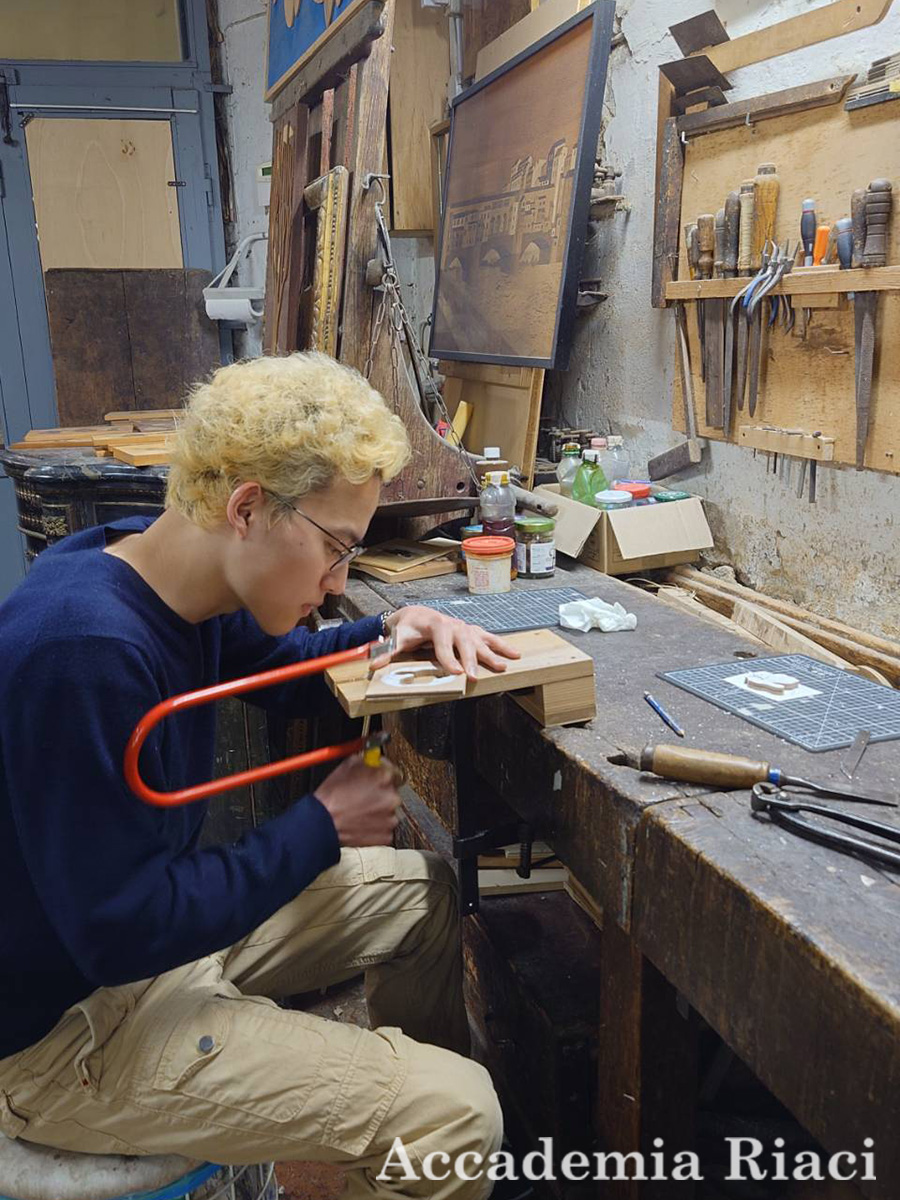
Bag Making / Furniture Restoration Short Course (#3) – K.M.
This week marked the first week of the antique furni…
Language:
Reporter: K.M.
Course:
Bag Making & Leather Arts, Woodworking
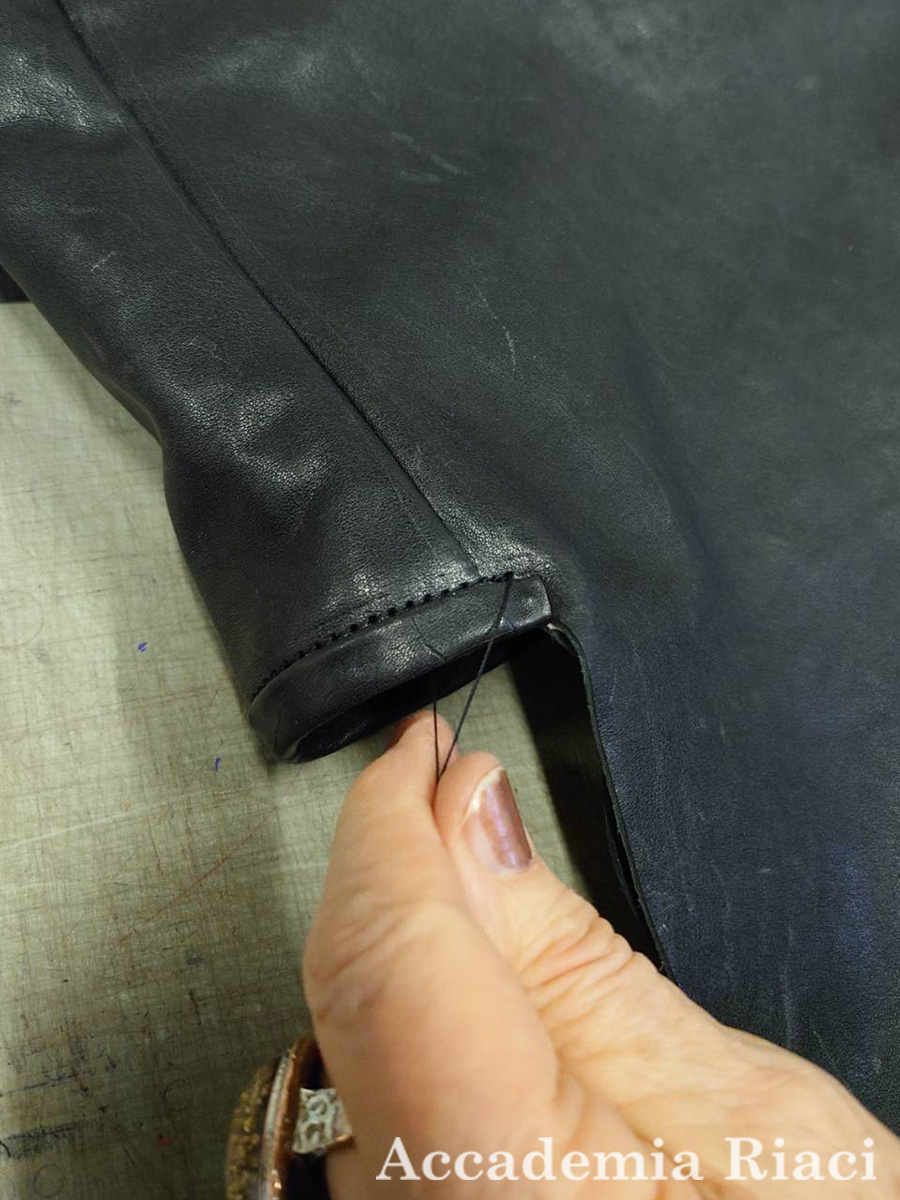
Bag Making / Furniture Restoration Short Course (#2) – K.M.
This week was the final week of bag-making.
今週は、カバン…
Language:
Reporter: K.M.
Course:
Bag Making & Leather Arts, Woodworking

At Accademia Riaci, we are recruiting Course Reporters from our students. The students who are chosen to become Course Reporters are given 10 % of the tuition as their scholarship fee.
The Reporters who have submitted excellent reports will have his or her profile posted on our school website for the next 5 years as an alumnae and will be able to connect with their business chancesafter their graduation.