Accademia Riaci
Student Reports
Read all class reports from our students!
Daniel Trembovelski
Country: France
Course: Jewelry Making
Program: Master Course
Period: Sep 6, 2021 - Apr 15, 2022
Apr. 29, 2022 | Posted in Reports, Jewelry Making , Student Reporter | Tags:Daniel Trembovelski, Jewelry MakingReporter: Daniel Trembovelski | Course: Jewelry Making
Jewelry Making Master Course (n.3)
End of the leaf project:
Last week I finished the whole structure of the leaf project. Now I had to complete the last step which consists in giving it an organic texture using engraving.
Having started engraving courses last week, I was introduced to the task and now was able to apply it directly to a real piece. The first task was to stick the piece to a wooden stick with some red wax on top of it. That allows us to hold the piece steadily as well as move its position easily when needed. (See leaf picture 1)


We are starting a new project which is a large ring that will include engraving and stone setting. I started by melting silver scraps, clean the silver and shape into one silver sheet 1.5mm thick and about 8mm long, and a silver square wire of a 3mm width and 1.5mm thickness thanks to the rolling mill and the draw bench. (See ring picture 1)


This whole process took me longer than expected, I will carry it on next week.


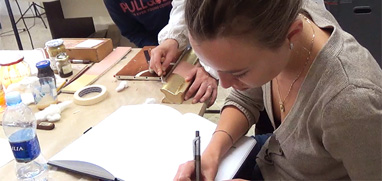
We had our first design course today. As an introduction course, we talked a lot and drew only for an hour.
The teacher started by introducing herself and her background in jewellery. She showed us most of her design work which consists of 2D-3D drawings, colour pencil drawings, gouache paintings etc. She also detailed her journey in the industry and answered our questions about more specific topics of the industry. She also detailed how the lessons are going to be divided throughout the year. Furthermore, she let us think about some specific topics that she could prepare for future lessons that would attract us more specifically.
On the last hour, we created a technical drawing of a bow she had with her, to give us basic notions of what a technical drawing for a client should include. The main thing was to create a top view, a side view and a perspective view to give as much insight and understanding to the client asking for a piece. The important thing was to maintain the right proportions and dimensions for what we used milli metered paper. (See pictures design 1&2)


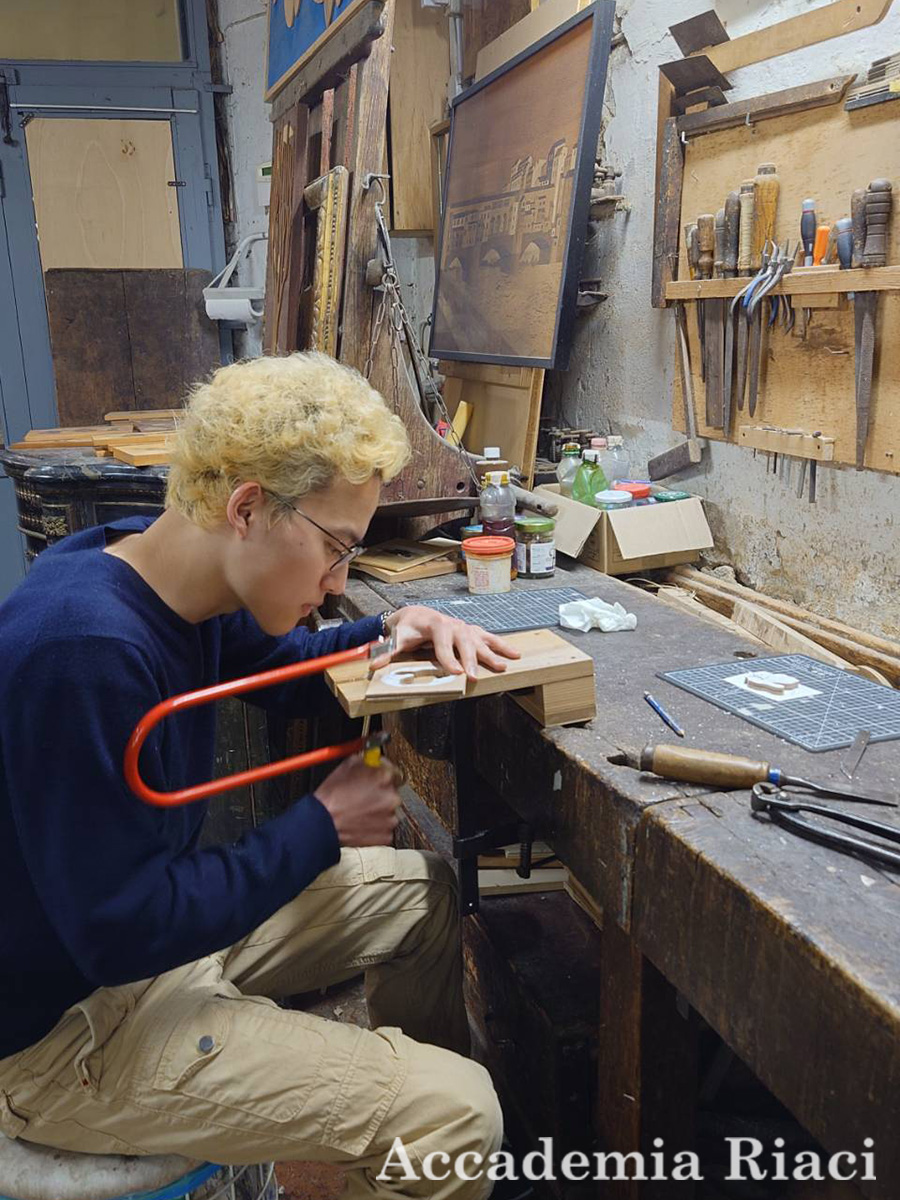
Bag Making / Furniture Restoration Short Course (#3) – K.M.
This week marked the first week of the antique furni…
Language:
Reporter: K.M.
Course:
Bag Making & Leather Arts, Woodworking
Bag Making / Furniture Restoration Short Course (#2) – K.M.
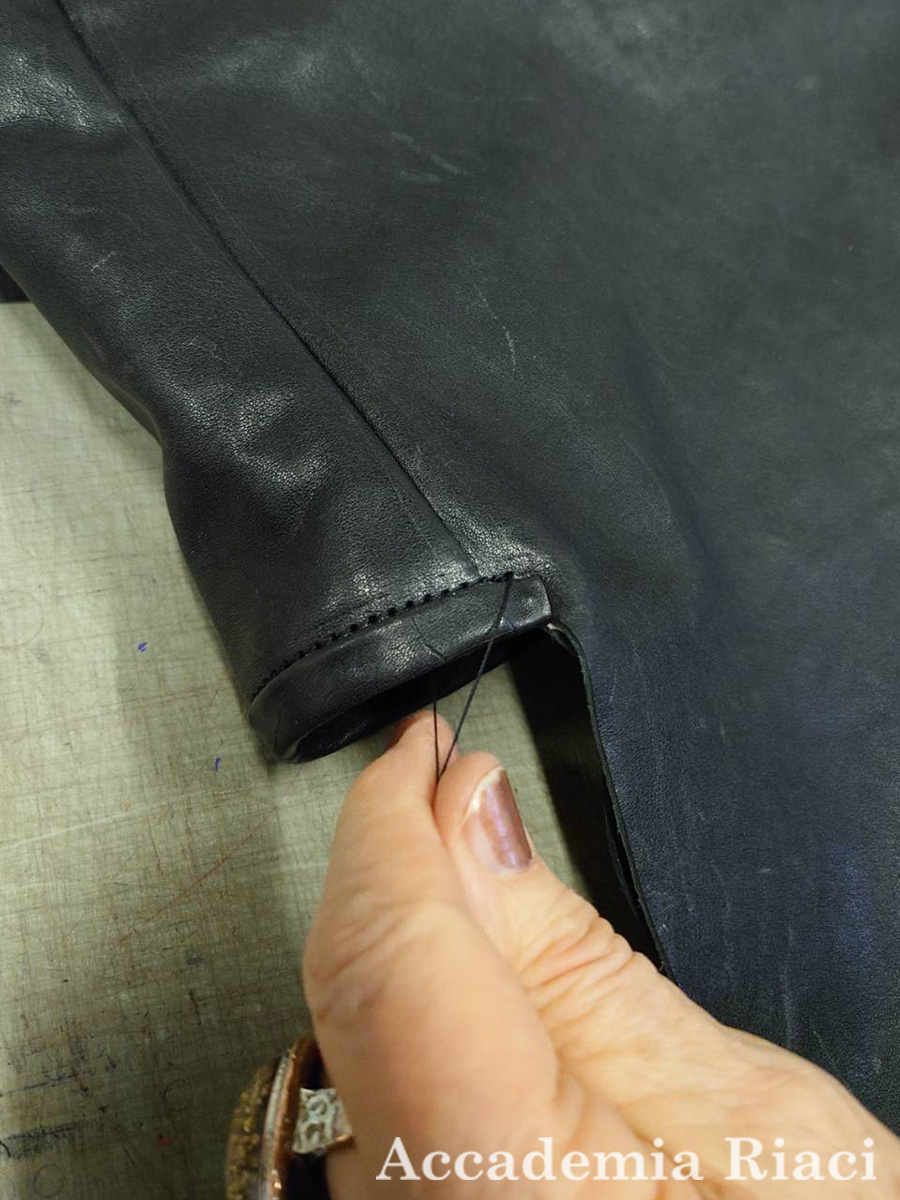
This week was the final week of bag-making.
今週は、カバン…
Language:
Reporter: K.M.
Course:
Bag Making & Leather Arts, Woodworking
Bag Making / Furniture Restoration Short Course (#1) – K.M.
This week was the first week of bag making.
Luckily…
Language:
Reporter: K.M.
Course:
Bag Making & Leather Arts, Woodworking

At Accademia Riaci, we are recruiting Course Reporters from our students. The students who are chosen to become Course Reporters are given 10 % of the tuition as their scholarship fee.
The Reporters who have submitted excellent reports will have his or her profile posted on our school website for the next 5 years as an alumnae and will be able to connect with their business chancesafter their graduation.