Accademia Riaci
Student Reports
Read all class reports from our students!
May. 30, 2022 | Posted in Senza categoria , Student Reporter | Tags:Daniel Trembovelski, Jewelry MakingReporter: | Course: Jewelry Making
Jewelry Making Master Course (n.6)
Earring’s repair
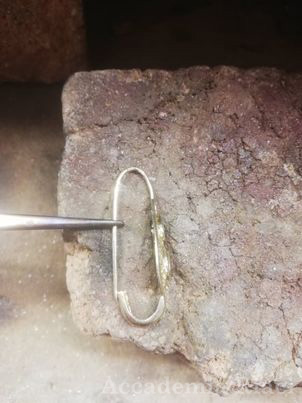
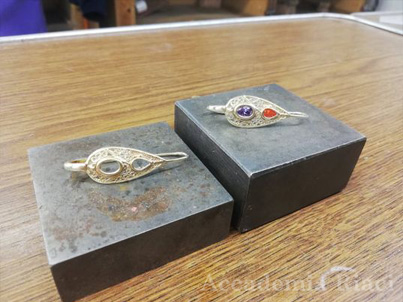
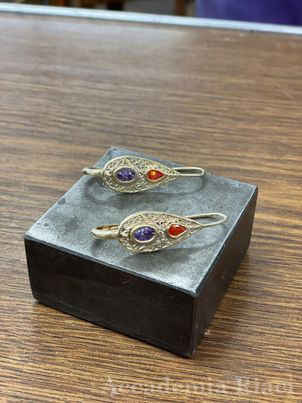
I started the week by working on a commission of mine. A member of my family gave me a pair of gold earrings, hand made in Israel 20 years ago and set with an orange sapphire and a purple amethyst. The back branch of one of the earrings broke and needed repair. It’s the first time I worked with gold, so I proceeded with the help and advices of my teacher. I started by unlocking the claws on the back of the earrings to allow the stones to come out of the piece. I took me quite a long time as gold became harder with time and the claws being really small. Once done I took out the 2 stones and realised the orange one was already broken before on an invisible part of the jewel. (See earrings picture 1)
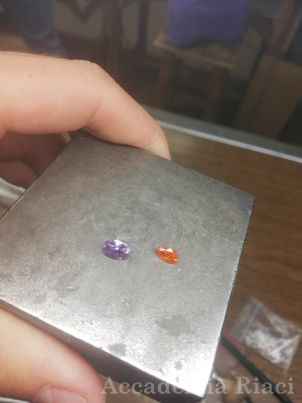 picture earring 1
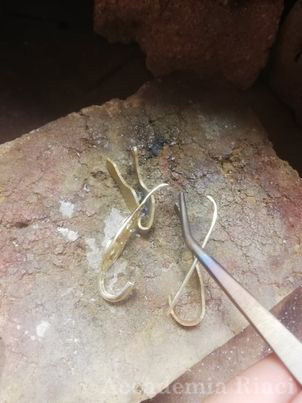 picture earring 2
 picture earring 3
 picture earring 4
 picture earring 5
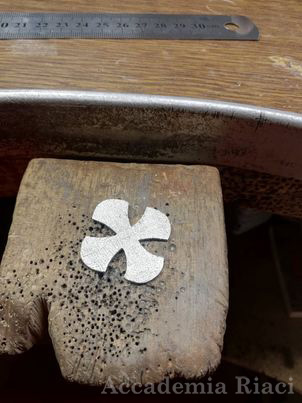
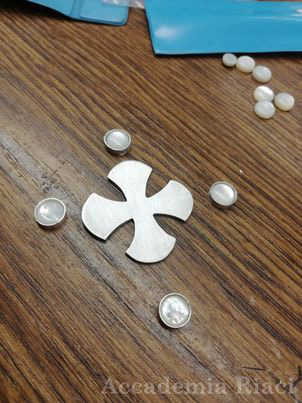
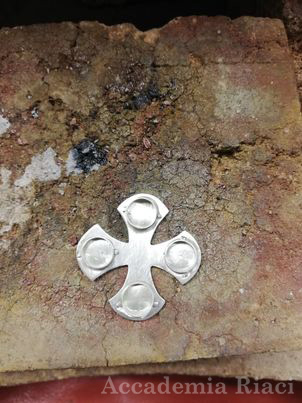
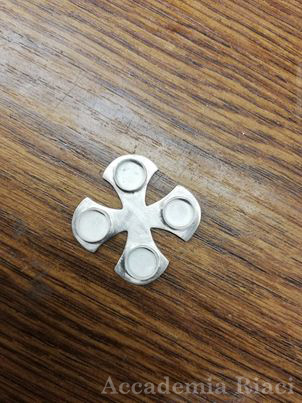
I carried on with another commission for a friend of mine: a silver cross set with 4 cabochon cut mother pearls. It’s a piece I started before but never had the chance to finish. After cutting the right shape for the cross, I had to make sure each side is even by filing them. Afterwards, I decided to create a “rigatto” texture on the back of the piece to practice my engraving skills. First horizontally, then vertically, the engraving came out pretty well. (See cross pictures 1&2)
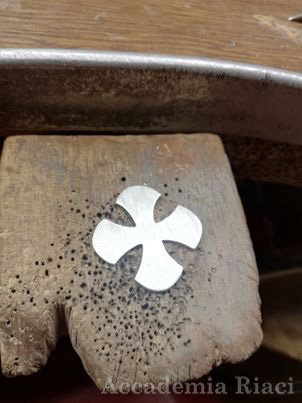 pictures cross 1
 pictures cross 2
 pictures cross 3
 pictures cross 4
 pictures cross 5
Textile Design Short Course (#25) – Tomomi W
On the morning of April 14, I returned to Japan.
…
Language:
Reporter:
Course:
Textile Design
Italian Chef training / Home Cooking Course (#2) – T
A cute little sandwich shop right near the school.…
Language:
Reporter:
Course:
Italian Culinary Arts
Chef Training Course (#2) – Kosuke I
Preparing Italian cuisine at the restaurant where …
Language:
Reporter:
Course:
Italian Culinary Arts
At Accademia Riaci, we are recruiting Course Reporters from our students. The students who are chosen to become Course Reporters are given 10 % of the tuition as their scholarship fee.
The Reporters who have submitted excellent reports will have his or her profile posted on our school website for the next 5 years as an alumnae and will be able to connect with their business chancesafter their graduation.

