NEWS and Blog
Jul. 01, 2014 | Posted in Reports, Shoemaking | Tags: Shoemaking, Morita
Staff Blog≫ Shoemaking: Closed lacing shoe – Attaching process
うち羽接着本番靴制作
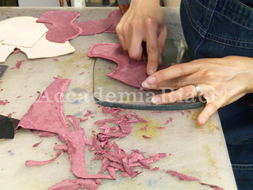

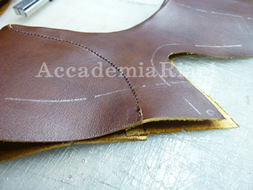
・After cutting the leather for the final shoe, we skim the overlapped part, as we did for the provisional sample.
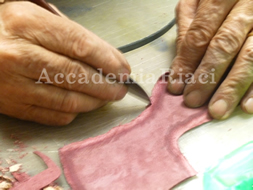
・After the skimming, we wrap up the leather around the wearing opening part, as it presents itself more beautifully in this way.
・wrapped part we attach an anti-stretching tape
(as the wearing opening easily loses its shape, we attach a tape internally to prevent this process).
・本番用の革を裁断したら、仮靴時同様に重なり合う部分を漉きます。
・履き口部分は革を折り返すことで見た目的にも綺麗なので薄く漉いた後、裏側へ折り返します。
・折り返した部分に合わせて伸び止めテープを貼り付けます。
(履き口は型崩れし易いので内側にテープを貼ることで崩れを抑える効果があります。)
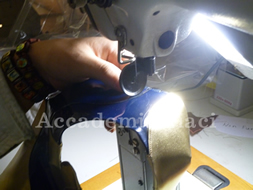
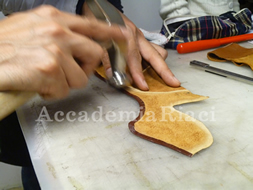
・After having skimmed each part and applied the rubber glue, we finish sewing with the sewing machine.
(This can be a bit difficult for beginners)
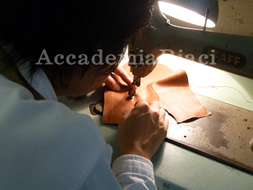
・The student is finely sewing the hem of the part.
・各パーツの漉きが終わったらそれぞれをゴム糊で貼り合わせてミシンで縫い上げます。
(縫い上げは仮靴時同様に際を縫い上げますが慣れていないと難しいです。)
・この生徒さんは際の部分を綺麗に縫い上げています。